
- When you log into RASS, you see the Search Sponsored Research screen. For tips about searching, see the Look up Project Information procedure.
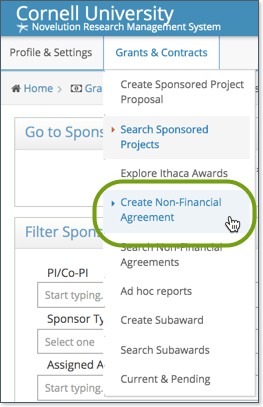
- At the top of the screen, use the Grants & Contracts menu to switch to different screens, including Create Non-Financial Agreement.

Most of the information you’re asked for should be familiar to you. The following procedure provides more detail for fields that might need explanation.
As you’re creating your NFA, you can ask for help from your usual departmental supports or the appropriate GCO. (To see a list of GCOs and their assigned sponsors, see Find my GCO on the Cornell Research Services website.)
Start NFA
- From the Grants & Contracts menu, select Create Non-Financial Agreement to start a new NFA record.
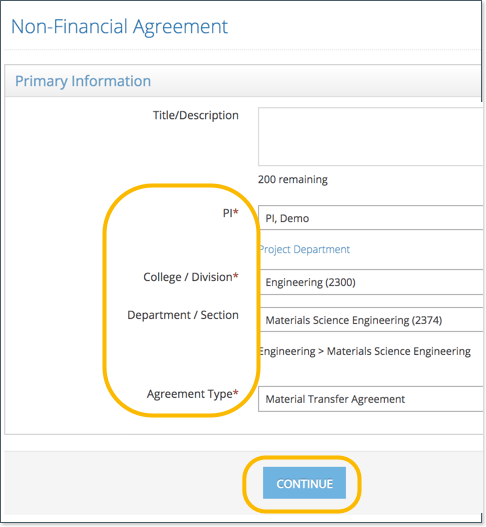
- In the Primary Information section, complete the following:
- Title: This is optional and can be changed later.
- Agreement Type: Select the appropriate type of non-financial agreement.
- PI, College/Division, Lead Department/Section: Choose a different PI, if necessary. RASS will fill in the other fields automatically based on information from Workday. For PIs with appointments in more than one department, the lead department is the one that will manage this project.
- Click Continue.
When you click Continue, you’ll see the Non-Financial Agreement screen where you can enter all of the details. The agreement is assigned an NFA number and is an official Cornell record. You can return to it at any time and can work on it for as long as you need. Tip: Use the Panel shortcuts section at the left to quickly jump from section to section as you work. - Scroll to the Primary Information section and enter the required fields.
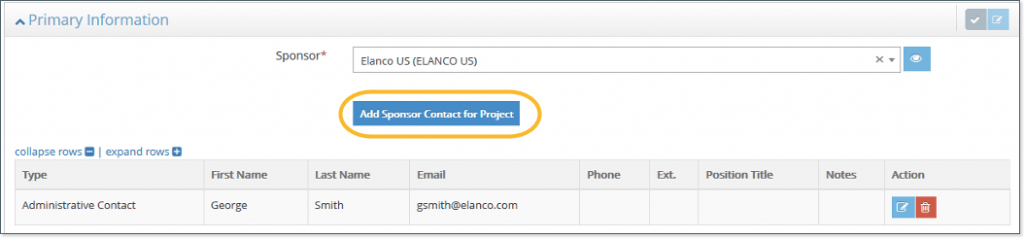
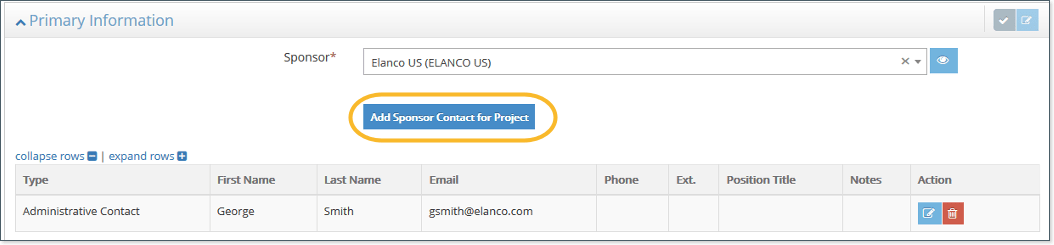
- Sponsor is the source of the material.
- After entering the Sponsor, click Add Sponsor Contact for Project, and enter the contact information for at least one person from the Sponsor/Provider. Include the Name, if available, and contact details to assist the Office of Sponsored Programs in reaching out to the Sponsor/Provider.
- After entering the Sponsor, click Add Sponsor Contact for Project, and enter the contact information for at least one person from the Sponsor/Provider. Include the Name, if available, and contact details to assist the Office of Sponsored Programs in reaching out to the Sponsor/Provider.
- When you enter the Start Date, the End Date field automatically fills. If the NFA is open-ended (without an end date), you can delete the end date.
- Sponsor is the source of the material.
- In the Compliances section, for NFAs, it’s especially important to review the Foreign Activities questions.

- In the Connected Research Projects and Non-Financial Agreements section, click the button to link to a Non-Financial Agreement or to a Sponsored Research Project. Enter the OSP number in the Record field.
- If the PI is filling out the NFA, in the PI Attestation section, click the checkbox to attest that the information is correct. (If someone other than the PI is completing the NFA, this section will not be available. The PI will receive an email notification to attest later.)
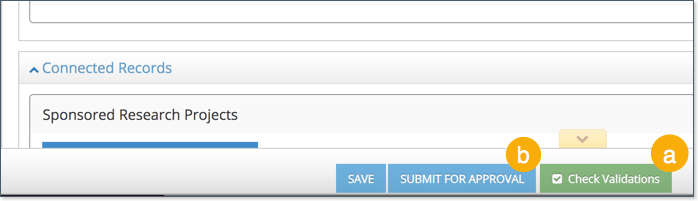
- When you’re finished:
- At the bottom of the screen, click Check Validations to see errors you need to fix before submitting.
- When you’re ready to submit the NFA for review, click Submit for Approval.
After you submit, the GCO will complete their tasks. If you want to check the status at any time, use the Workflow & History section.